What is FileZilla:
FileZilla is a FTP Program that can be used to transfer files to and from a web host like BlueHost or InterServer. Note: When you sign up for a hosting account, an FTP user account (Username, Password etc.) is automatically created.
About FileZilla Setup Guide:
This easy to follow tutorial will teach you how to install and later how to use FileZilla to upload files to your website.
This tutorial is also the answer for many of most frequently asked questions like:
- How do I set up FileZilla?
- How do I start FileZilla?
- How do I connect to filezilla?
- How do I connect to FTP?
- How can I upload my website?
- How do I transfer files using Filezilla?
How do I set up FileZilla – Steps
To get started with using FileZilla as your FTP Client, you should go through following 3 steps:
- Download and Install the Program
- Configure the Software
- Connect and Upload/Download
This tutorial will show you how to use FileZilla to upload your website.
Download and Install FileZilla
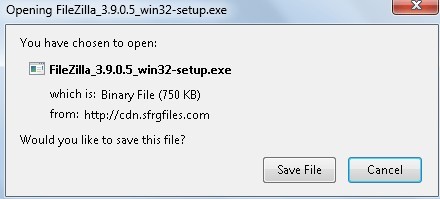
- Go to FileZilla and Download the correct package. Window will popup prompting you to either Save or Run the file. If you have the option to run the file, choose it. If not, click Save File.
Dummies’s Guide To FileZilla installation (How to use Filezilla)Tweet This
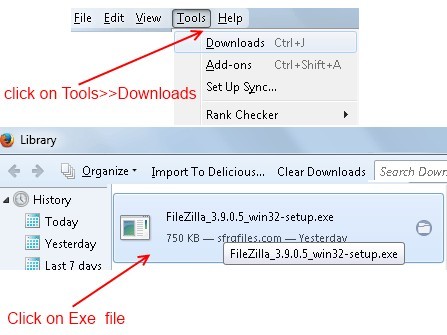
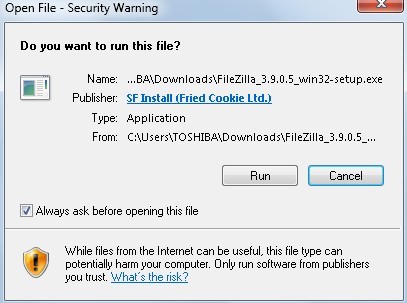
Download filezilla - After the downloading the correct package, locate the EXE file on your computer. If you downloaded it from the Internet using firefox, click on Tools>>Downloads and locate your file from the list and double-click on it..The security warning screen will appear. Click on Run.
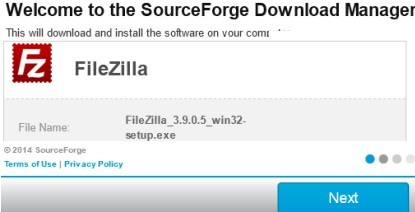
Security warning Just follow the 4 screen appear below.
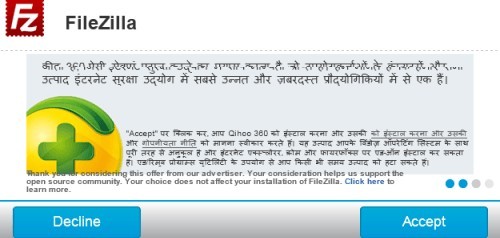
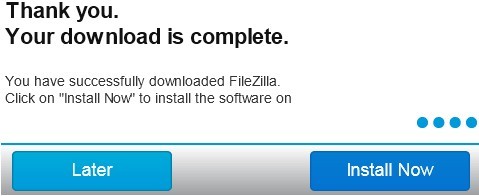
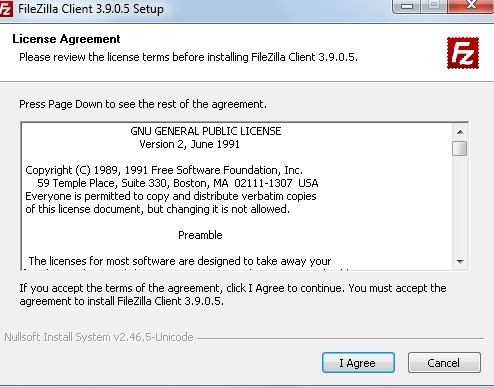
1. Click Next 2. Click accept 3. Wait for downloading 4. Click on Install Now The License Agreement screen will appear. Make sure to read it and click on ‘I Agree‘ when you are ready to continue.
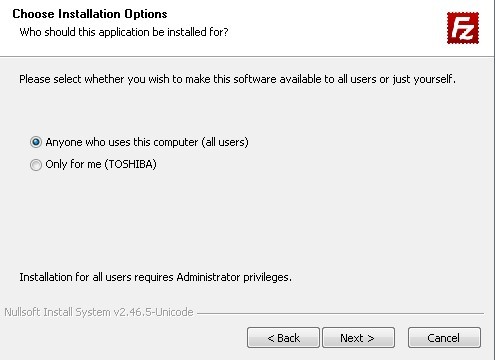
Accept - On the next screen select whether every user of the computer can work with the FTP client or only the admin account can work with the FTP client. Click on the Next button to proceed.
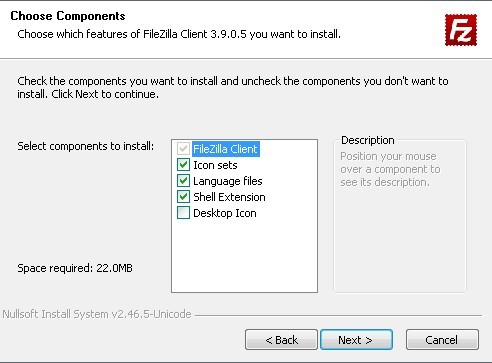
Click Next - On the next screen select the components which you want to include with this install. Standard installation usually includes the FileZilla files (required). You can include the optional items like documentation (help), language support, shortcut icon ect. Then click on the Next button.
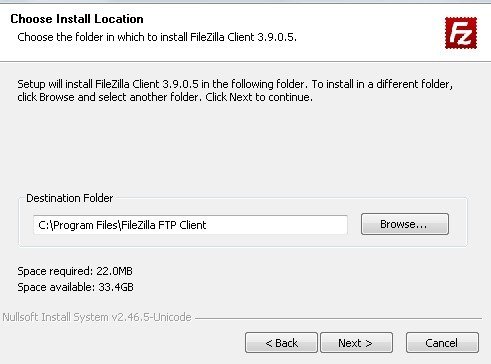
Next - In the next window set the location where you would like to have FileZilla installed. The default location is Program Files folder. Hit the Next button to continue.
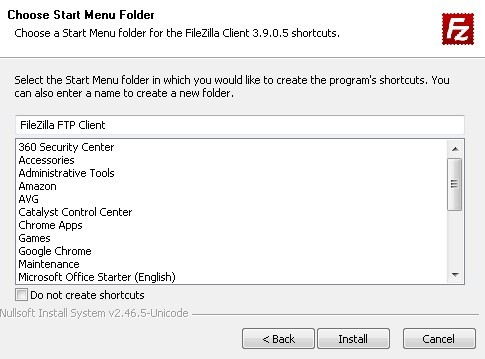
Next - Enter the name of the folder that you want to add in start menu and click install.
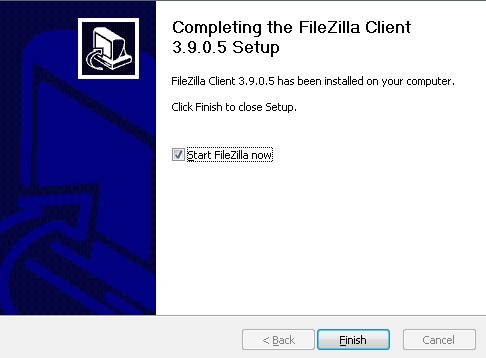
Install - The installation process will begin and it usually doesn’t take very long. After the installation is completed, check Start FileZilla now check box and click on the Finish button. This will start your FileZilla FTP client.
Finish
How to Connect to Your Hosting Account with FileZilla
You can either user the quick connect bar or add the server information to the site manager for establishing the connection. Adding to the site manager will make it easy to reconnect to your server.Use this if you are planing to come back and do more uploading/downloading.
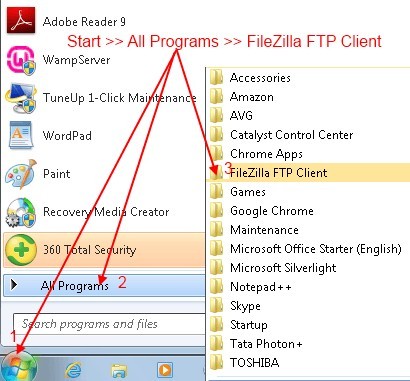
- Locate the “FileZilla” shortcut and open the program(see below).
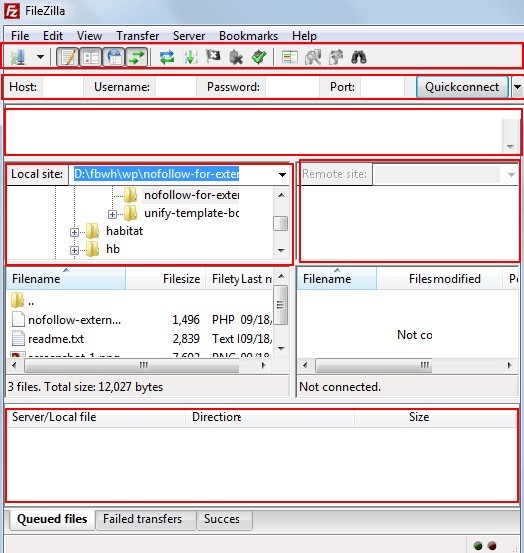
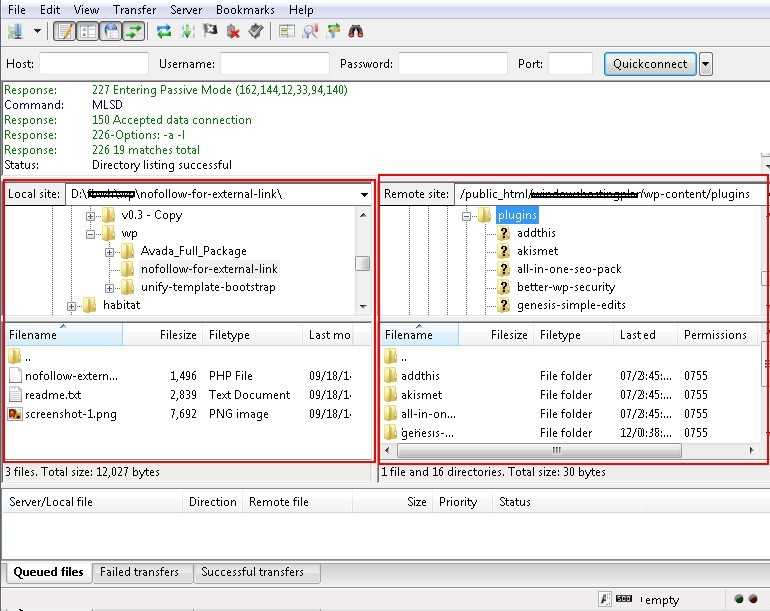
Open FileZilla - Now you will see FileZilla. Look at the FileZilla’s window layout. Here is a quick introduction:
FileZilla (1) the toolbar
(2) quick connect bar
(3) the message log displays transfer and connection related messages.
(4) displays the local files and directories
(5) displays the files and directories on the server you are connected to.
(6) At the bottom of the window, the transfer queue lists the to-be-transferred and already transferred files. - Connect to your hosting using quick connect bar .(Note: Go to step 7 if you are using this to connect to the server).
Enter the host, user and password fields and click QuickConnect. This information should be supplied to you by your hosting company. To learn more about using FTP, I’ve written another article >> How to create an FTP account?Quick connection - Create a new site entry and connect to your host
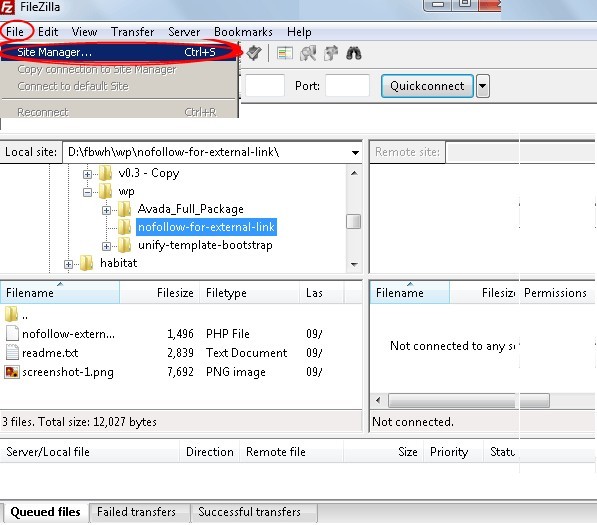
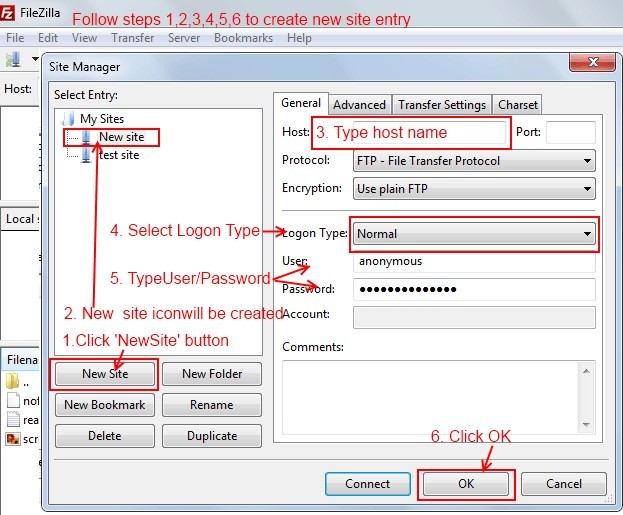
Click on the file menu, and choose “Site Manager”.site manager - First, click the “New Site” button and add a site to the Site Manager. A new site icon will be created. Click on it. Then enter the host, select logon type to normal, enter user and password information. This information should be supplied to you by your hosting company. To learn more about using FTP, I’ve written another article >> How to create an FTP account?
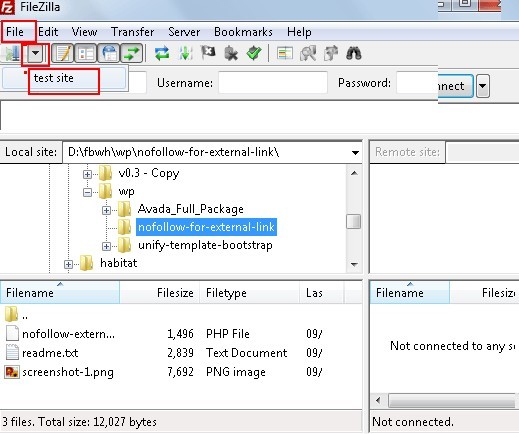
new site entry - To connect to the server, click the arrow next to the site manager icon, and choose your site. For e.g. in this fig I selected my site ‘test site’.
Connect - Once connected, files on the server will be displayed on the right of the window, files on your computer on the left. You can drag and drop files to move them from the local computer to the server, or vice versa.
Upload/ Download
Summary
So we have seen all the steps to setup FileZilla and also how to use it so that you can transfer files to your website or blog.
If you find this article useful, please share 🙂 Thank you
