

Look:
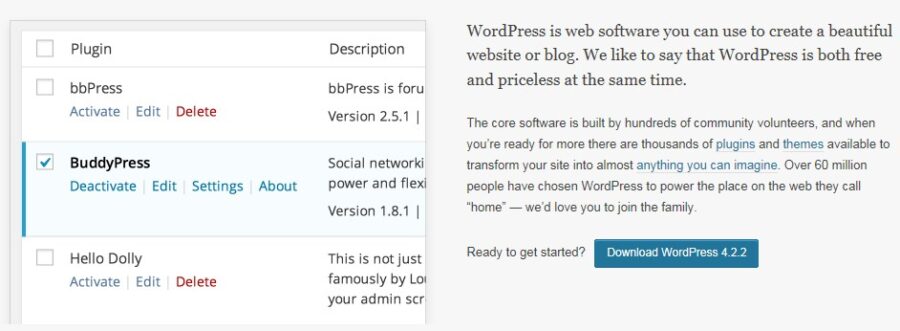
We all know that WordPress is a popular blogging platform among the community due to its simplicity. WordPress is compatible with both Linux and Windows shared hosting.
Bloggers often install WordPress on a Linux server.
However, you can also install the blogging script in Windows servers as well.
Nowadays, Windows servers are equipped with PHP and MySQL databases. Hence, installation of WordPress will not be a big problem.
WordPress Automated Installation Process
When you purchase a Windows shared hosting package, you will be provided with control panel such as HELM and WebsitePanel.
These control panels include separate modules which will have a wide range of scripts available for installation.
In case of HELM, you need to select Application Packs icon from the Domains page

You need to select WordPress from the Web Applications page and provide the required information such as database name, database user, host address etc.

WebsitePanel consist of Web App Gallery using which you can install several scripts including WordPress.

The gallery page displays a wide range of scripts. You should select Blogs link located on the top portion and locate WordPress.

Select Install button and you will need to provide the required information as shown below

The automated system will be mainly useful for beginners. Sometimes, scripts installed via the web based system will be old.
However, you can easily upgrade the version by logging into WordPress admin dashboard.
WordPress Manual Installation Process
Follow the following steps to install WordPress manually
(1) Download WordPress package from the official site.
(2) Extract the contents of the ZIP file and upload to the wwwroot folder located under your hosting account
(3) In case if you are using WebsitePanel control panel, you only need to upload the ZIP folder via FTP. As soon as uploading is completed, login to the control panel dashboard and locate File Manager link on the navigation panel. You need to locate the uploaded ZIP file, select it and click Unzip button.

Note: You should move the folders and files in such a way that they should be located inside wwwroot folder. This process can be completed using FTP.
(4) Navigate to your website and complete the blog setup process.
(5) WordPress includes default themes through which your blog will be visible to the outside world. You can however change the appearance of your blog using third party themes.
Note: If you are unable to view any setup page, make sure that you have modified name servers of your domain to point towards the web hosting server. Please contact your web hosting provider if you require any clarifications.
Permalink Creation and its Importance
Permalink denotes the web address of your blog. WordPress generate unique URL as and when you publish a blog post. By default, permalinks are not search engine friendly. You will need to make them readable for search engines such as Google, Yahoo and Bing.
You can easily modify Permalinks by navigating to Settings | Permalinks from within the WordPress admin dashboard.
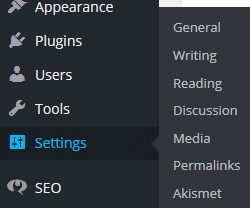
The default permalink structure will have index.php embedded on it as you can see from the below figure. You need to modify it so that the URL not only looks better but also search engine friendly.

You cannot remove index.php from within WordPress admin dashboard. However, you can easily remove it from the relevant URL by creating .htaccess file and providing the below code.
# BEGIN WordPress
RewriteEngine On
RewriteBase /
RewriteRule ^index\.php$ - [L]
RewriteCond %{REQUEST_FILENAME} !-f
RewriteCond %{REQUEST_FILENAME} !-d
RewriteRule . /index.php [L]
# END WordPress
You need to upload the file to the root directory of your WordPress installation. You should again login to the WordPress dashboard to configure custom permalink as shown below.

The %postname% denotes that only the name of the post will be separated with hypens to form the URL. You can also display relevant category by including %category%/%postname% structure.
WordPress enables you to create a blog very quickly.
Moreover, the learning curve is not difficult since you will know what exactly you need to do as soon as you login to the admin dashboard.
With a wide range of plugins and themes, you will be able to establish a credible blog which attracts millions of users on the web.
Easy Way – WinHost – ASP.Net Hosting with one-click WordPress Install feature
Winhost is an ideal candidate for Windows wordpress hosting.
Along with latest asp.net framework features with solid support, winhost is the one you should opt for windows hosting along with wordpress.
See how easy it is to install wordpress from it’s Websitepanel.


Another good reason to switch to to winhost: Free Website migration.
Sum it Up
So we saw few options how to get wordpress on windows hosting Yes. It is possible to install wordpress on windows server.
If you found this article useful, please share 🙂