

I have been a big fan of Sumome plugin ever since I started using it and I think you should too have sumome as part of your core wordpress plugins.
But why?
Thanks to Sumome, I am able to add a sharebar on this blog’s left sidebar as well as add a contact form icon on right side. I also have a list builder to collect emails from my readers so that I can alert them when I have new articles.
And that’s not it…I have added heatmaps, content analytics and some additional tools.All this was made possible due to sumome.
You will start liking it immediately, once you start using it. It is very user friendly and very innovative and fast as well. And above all, it is free. .
Why install Sumome?
A free multi-function plugin, sumome, has following features:
- Share bar tool – Add a share bar to your sidebar and make it easy for users to share your blog posts.
- Contact form builder – Add a nice contact form to your blog
- Opt-in form – Use Sumome’s List Builder tool to quickly setup an opt-in form and build your email subscriber list for email marketing. Automatic setup with most popular email marketing tools like mailchimp, aweber, constant contact etc
- Content Analytics – Know your site visitors well. Link your Google analytics to sumome and you can view analytics data right from your blog.
- Heat map tool – A heatmap tool shows which parts of a blog page is most visited.
- Traffic Builder Tool – A traffic exchange program to build traffic
- Smart Bar – A smart way to add an opt-in form at top of your website.
and more…
This easy to follow guide shows you :
- How to install sumome plugin. Click here to jump to this section
- How to add a ShareBar and make it easy for your readers to share your blog posts Click here to jump to this section
- How to add a contact form to your blog. Click here to jump to this section
Lets begin….
How to install sumome plugin in your wordpress blog
Login to your WordPress Admin Dashboard. Then Click on Plugins >> Add New.
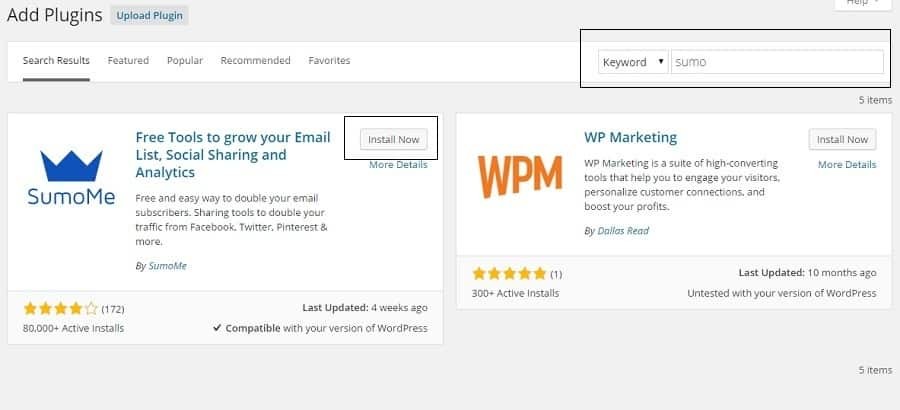
Now enter “sumome” into keyword field and hit enter. Locate Sumome in search results and then click on Install Now. See picture below.

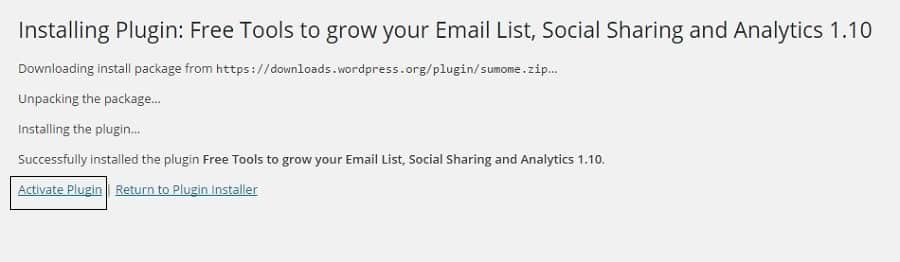
WordPress will install Sumome for you. Now, click on Activate plugin to activate .

Now that you have activated the plugin, it is time to setup Sumome for your blog.
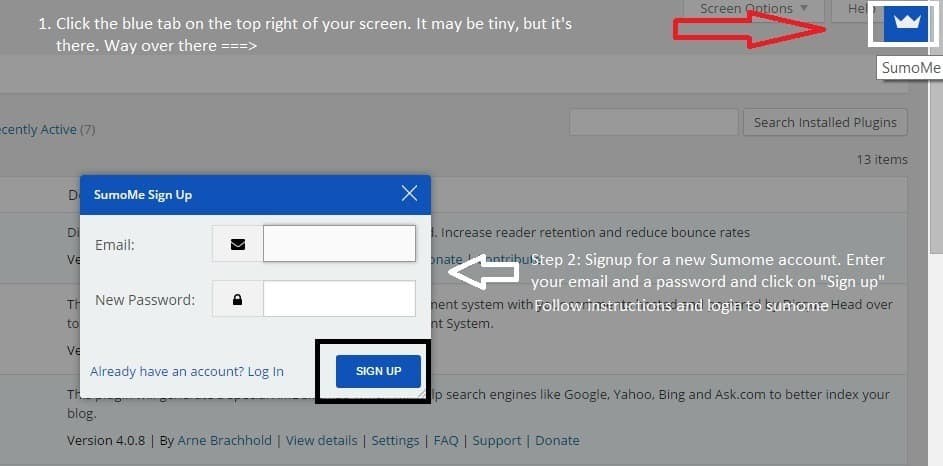
Locate a tiny blue tab on top right hand side, which is partly hidden, Just mouse over to reveal Sumome blue crown icon. Then signup for sumome – Enter your email and password and click on “Sign up”

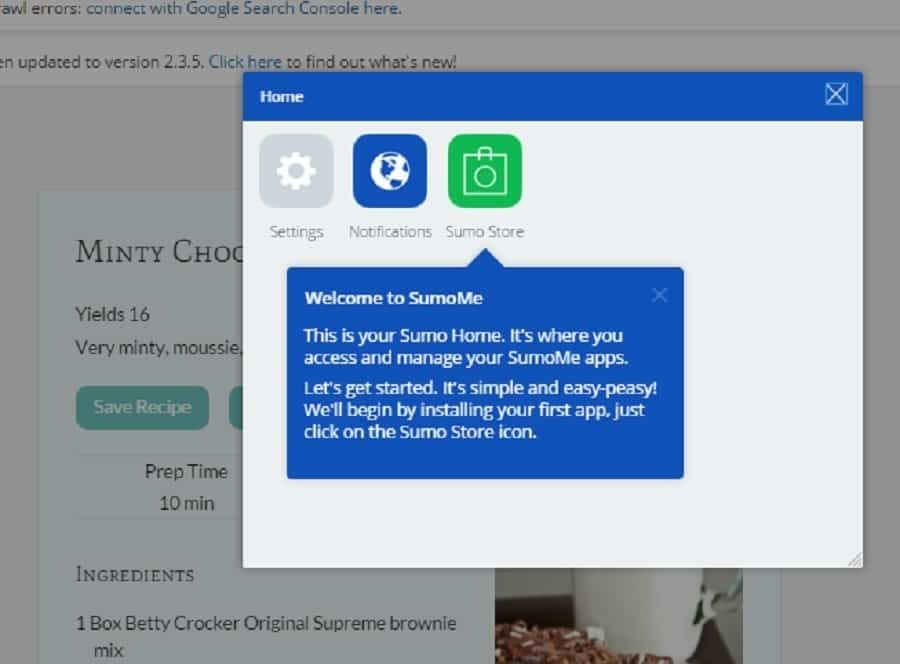
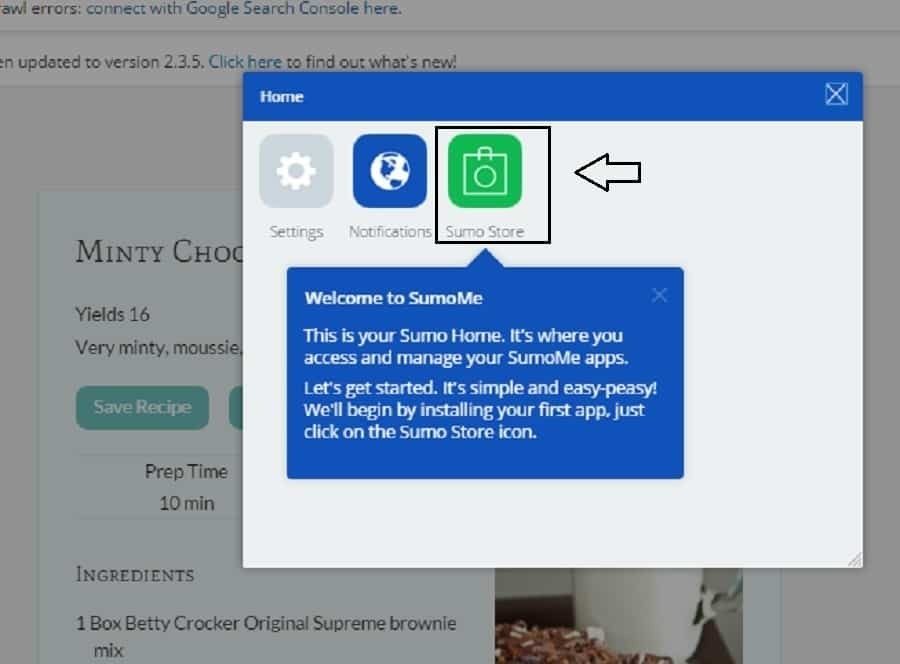
Now login to sumome and you should see SumoMe welcome screen.

This completes your sumome installation and signup process. Now let us start adding features.
How to add a ShareBar and make it easy for your readers to share your blog posts
Login to SumoMe and from your welcome screen, click on Sumo Store

Now scroll down to locate Sharing section and click on Share Icon.

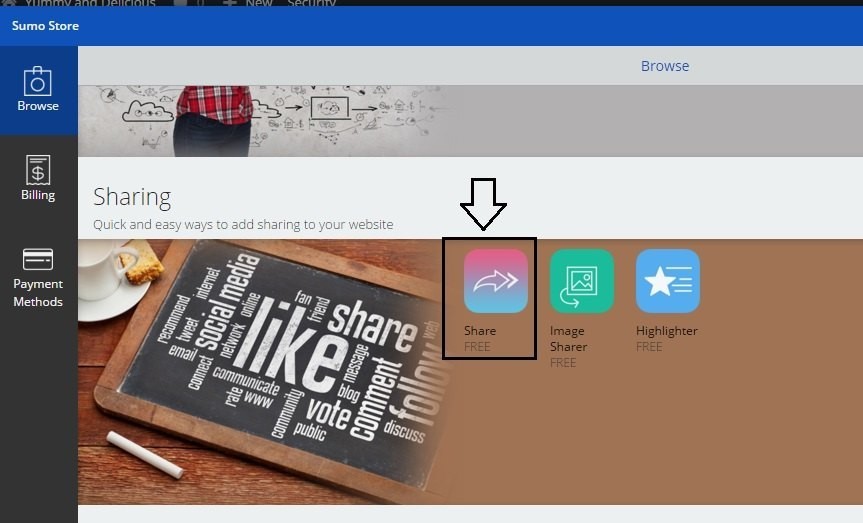
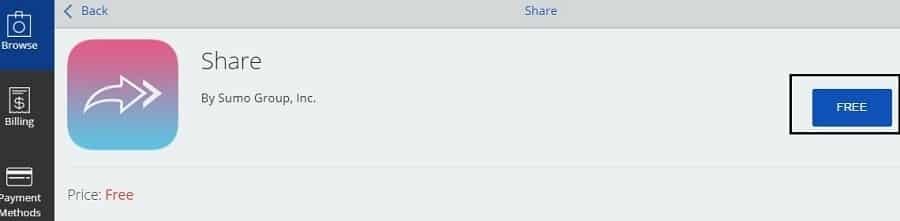
In next screen, Click on “Free” button in install share bar.

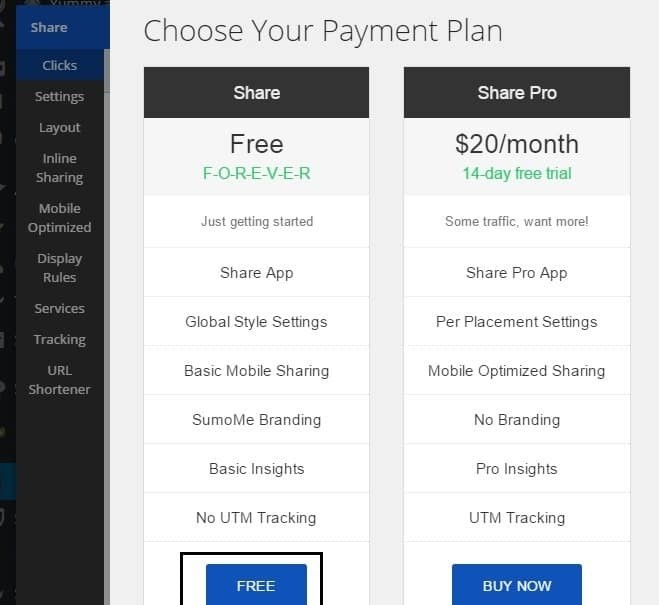
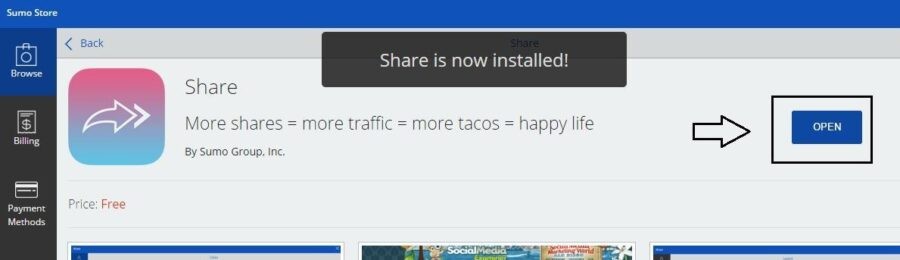
Now choose the free plan in next screen and click Free buttonYou should get a message “Share is now installed”. Click on “Open” to layout settings(to decide where the share bar appears in your blog posts)


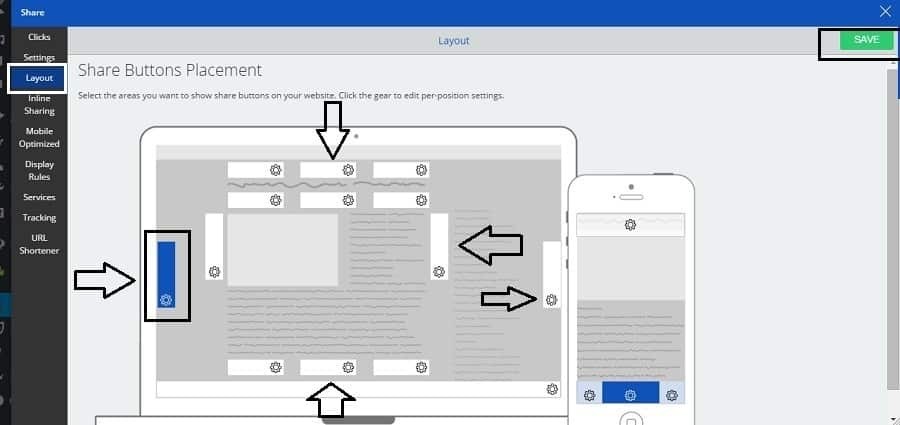
Now, click on Layouts on left side bar. Simply Click on the white spots where you want your share bar to appear. By default, a left side bar is chosen. But you can add more or change it.
Now finally click on the green Save button to save your settings.

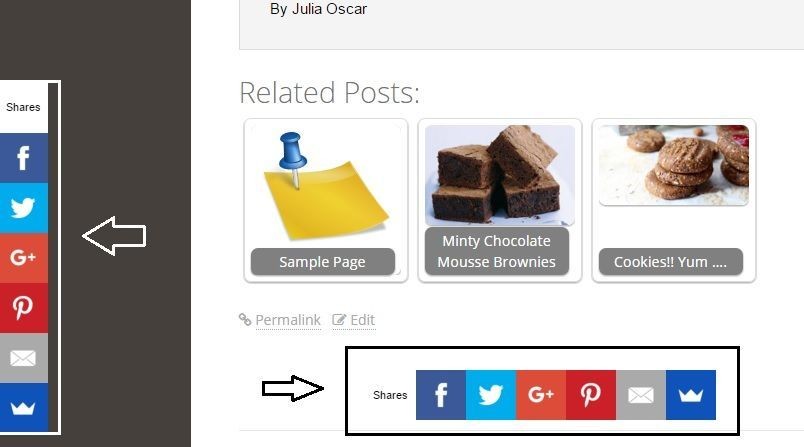
Now let us see how your share bar looks like. In my case, I used the left hand side share bar and bottom one. So here’s my Cookie recipe page. You can see left share bar as well as one at the bottom of the recipe page.

This completes setup of SumoMe ShareBar.
There are more Share settings. But I am not covering in this guide. For Example: In Settings section, you can decide which services should appear in your sharebar. By default, facebook, twitter, Google plus, PInterest, Email and Sumo Services are added, But you can change it by dragging services in or out.
How to Add a contact form using SumoMe
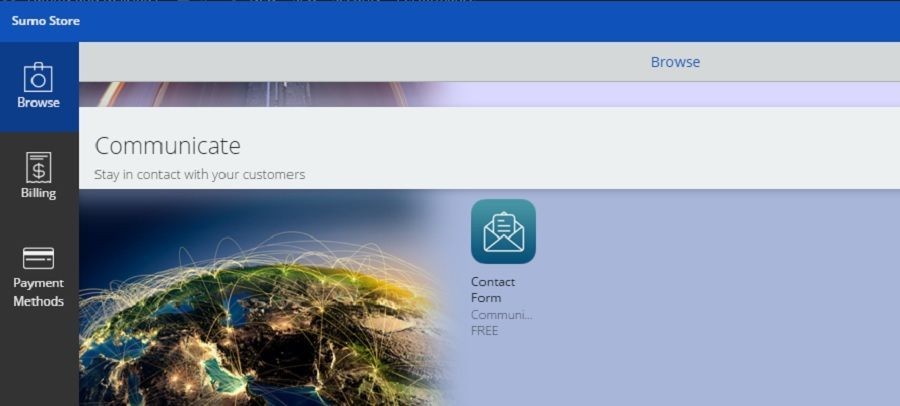
Login to SumoMe(if you haven’t) and click on Sumo Store. Click on “Contact form” button to start installation of your contact form.

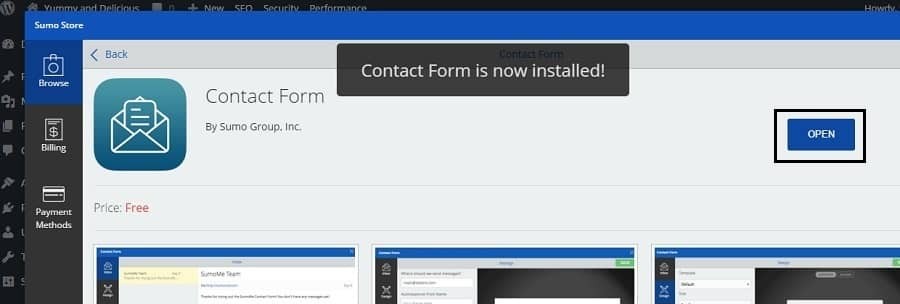
Now SumoMe wiill complete installation and now click on “Open” button for further settings

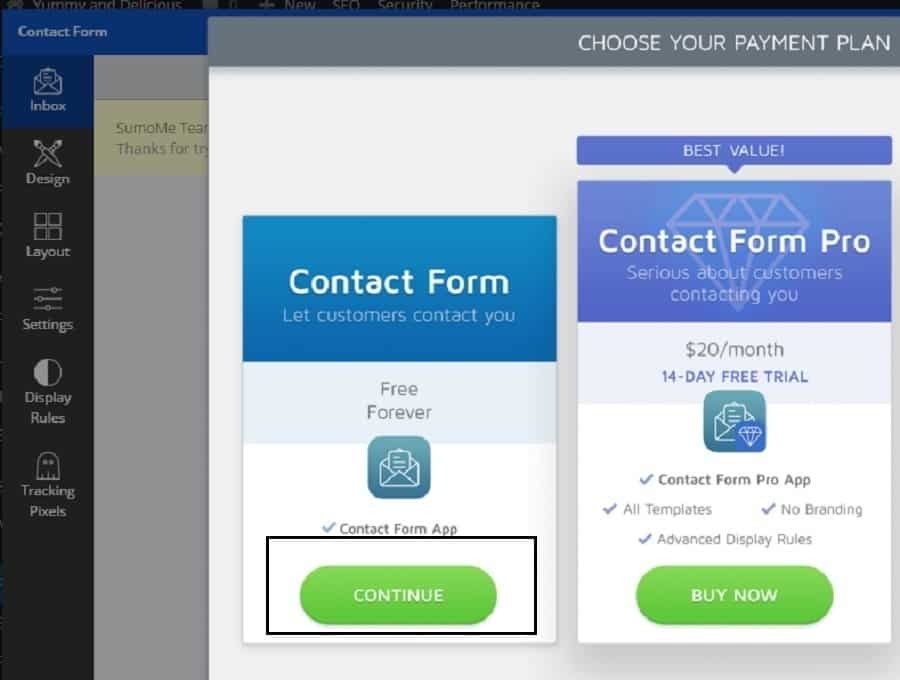
Choose the free plan from next screen and click on Continue button.

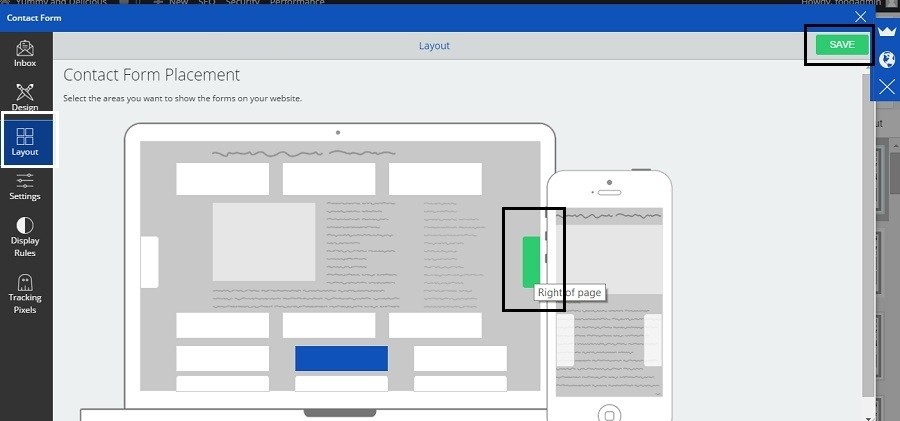
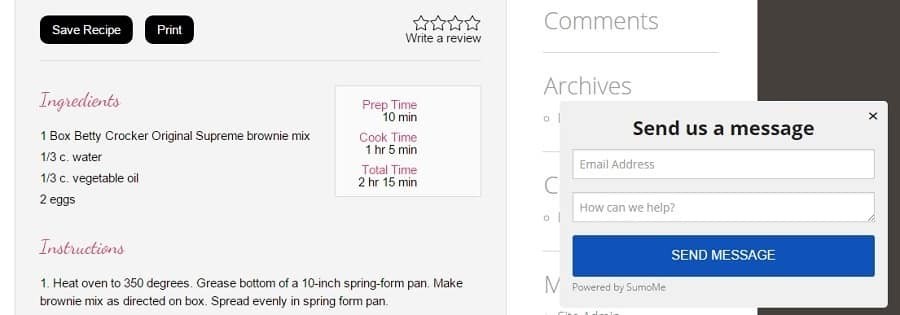
Choose where in your blog post the Contact Us tab will appear. I chose the right side as well as end of blog post option as you can see in this picture below.Now click on Save button to save your settings. Your contact us page is added to all pages. Let us see how this works. Open any of your blog pages and on right side center, you can see a “Contact Us” tab. Click it and your Contact page appears. See next picture.


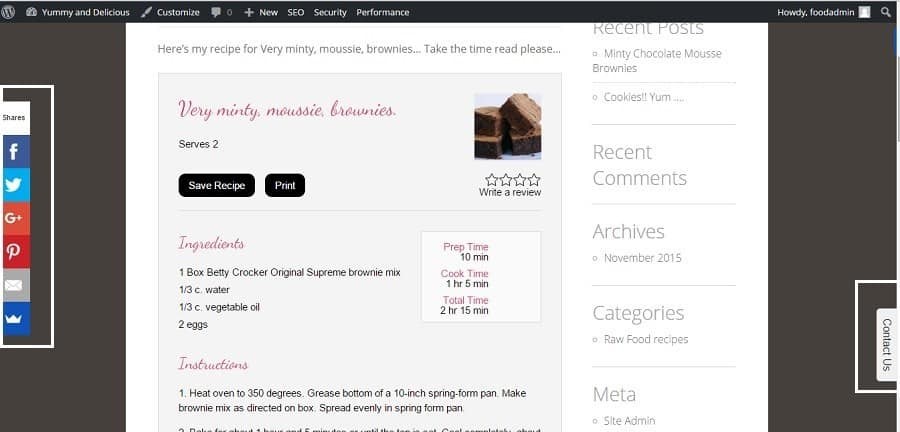
Your Contact Us message appears on right side. When your readers send you a message, SumoMe will automatically sent it to your email, which you used to signup for SumoMe.

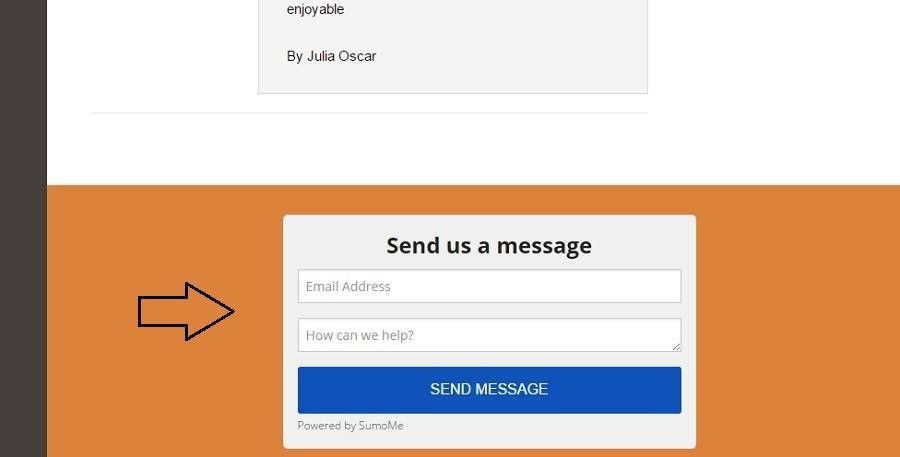
You can also see a Contact form at bottom of each blog page as well.

This completes SumoMe Contact Us Form installation and setup.