
AWeber is a premium email marketing tool and is the most popular email marketing tool used by most bloggers.
Let us see how we can collect emails from blog readers and integrate it to AWeber tool, so that you can use your email list for email marketing, newsletters etc.
If you do not have AWeber, then click here to signup.
Step by step instructions for adding Email Subscriptions to Your WordPress Blog using AWeber
Step 1: Install the plugin and activate it
Login to your DashBoard as Admin and then goto “Plugins”, then “Add New”.
Search for “AWeber Web Form Plugin”, then install it by using the “Install Now” button.
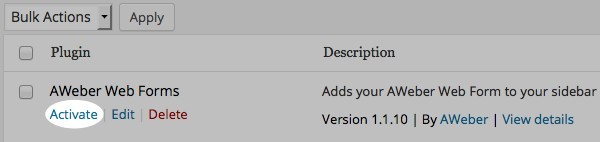
Finally Activate it by clicking the “Activate” option.

Step 2: Get Aweber Authorization Code
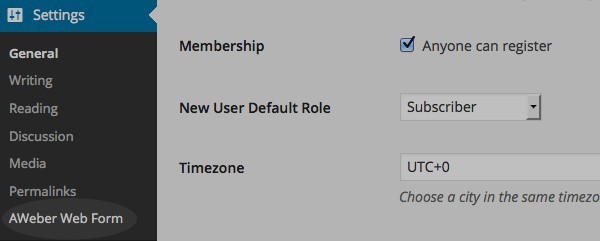
For connecting the widget to your AWeber, click on “Settings” tab available on the left side of your WordPress Control Panel, and then click on the “AWeber Web Form”

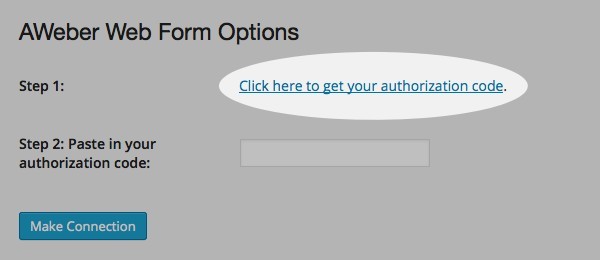
From “AWeber Web Form Options” screen come, click on link “Click here to get your authorization code”.

Now:
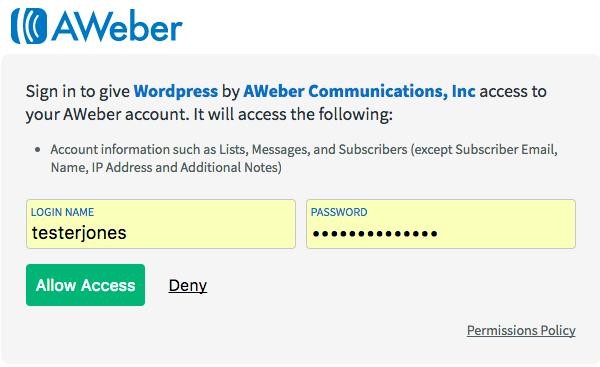
You will be redirected to a page in which you have to login inside your AWeber account to authorize the connection between your account and widget tool/plugin on your WordPress site.
Enter your login name as shown in the figure, and then set your password for the account and then click on “Allow Access” button to enable the feature.

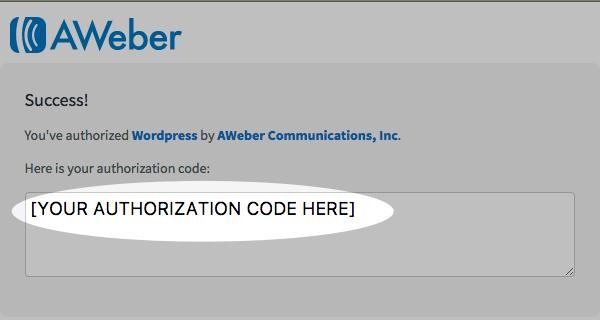
You will be redirected to a page with the authorization code contained in the box.
First, highlight the text code and then copy it to the clipboard.

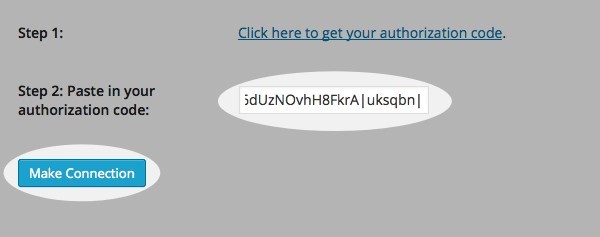
Step 3: Add Aweber Authorization Code
Then move to your WordPress account, and paste the authorization code in the “Step 2” where it states – “Paste in your authorization code” and then click on the “Make Connection” button.

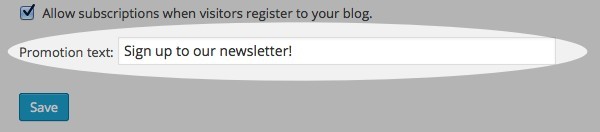
Step 4: Enable Subscriptions while commenting option
Once the plugin gets connected, you can see that a new section appears which is: “Subscribe by commenting” –. Choose list wise and click on the boxes as shown.

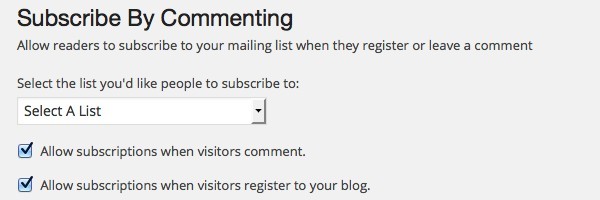
After choosing the list for your visitors either as commentators or as subscriptions registers, write the promotion text whatever suits you, as for example – “Sign up to our newsletter”.
Tip: Be creative here. You can even add a sentence like. Do not miss latest artricles. Signup for our newsletter.
Once, you are done click on the “Save” button.

Step 4: Enable Widgets
Once you have installed this webform widget and connected with your AWeber Account, you can click on Appearance on the left side of your dashboard on your WordPress based Website, and move to the Widgets Page.

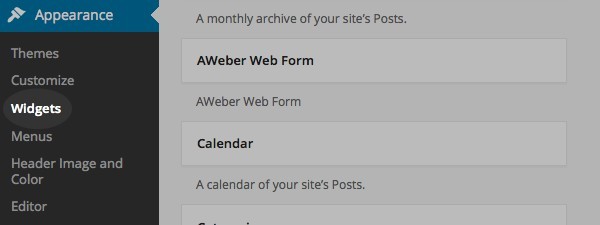
With the help of your mouse drag the widget, under the column – “Available Widgets” you have an option as “AWeber Web Form”.

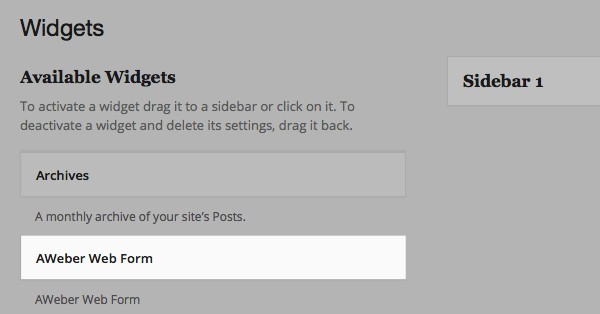
Now:
You can set where you want your form to appear, for having the email subscriptions.
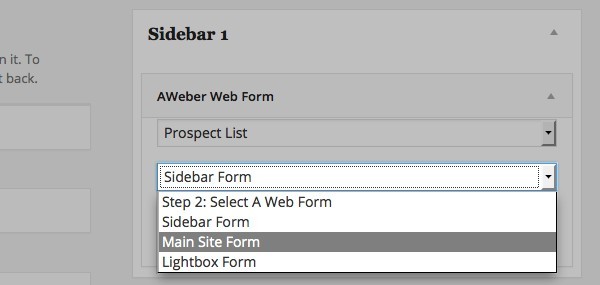
Expand the AWeber Web Form widget’s option and a drop down box will appear as shown.
Choose the list you desire. (Example – choosing the “main list”)

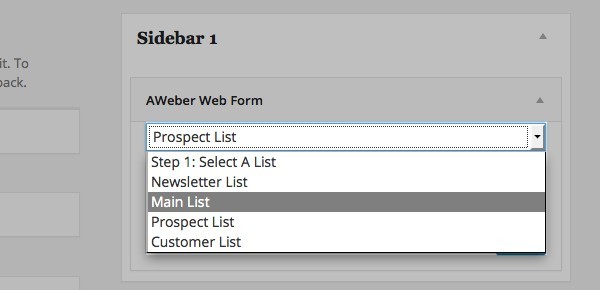
And the form which you want to place on your WordPress based blog/website:
(Example: “Main Site Form”)

After that click on – “Save” option in order to save the changes you made, and then your form will be installed on your WordPress based website/blog.
FAQ – AWeber WordPress Intergration
A WordPress Developer may find some problems after adding email subscriptions to the WordPress Blog using AWeber. Hence this FAQ section.
1. I can’t find the widget, though I created the sign up form, what shall I do?
If you have just created a form, first refresh the page, and try to look again. You must also check all the list in the Widget form, so to ensure you are working on the list in which you want the users to subscribe.
2. Is split testing possible with this widget?
Yes, you can! Create a split tester in your AWeber Account, and in the “Step 2” it will appear “Select a Web Form menu”.
3. How to fix, when my form doesn’t fit in the sidebar?
Depending on the theme you are using the wider forms may not fit at first. But, you can fix it in the AWeber form generator.
4. When someone made a comment, he was not added to your email list. Why?
For preventing spammers, the comment needs to get approved, therefore, you have to approve the comment; after this, the user who made the comment will be automatically added to your email list.
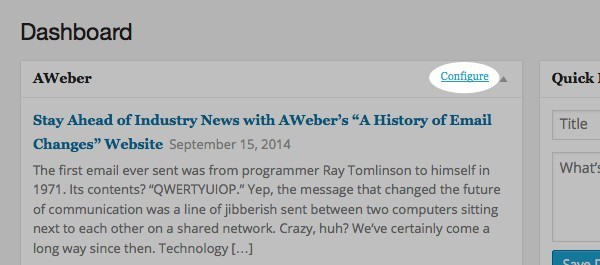
5. How do I use the Plugin’s dashboard?
Once the plugin gets installed, on the left-hand side of the dashboard of your WordPress blog, you can see a new section as AWeber, in this, you can configure it as per your requirements.

6. How can you adjust the Subscribe button in your Comment Checkbox section?
Some of the WordPress based themes have an option to adjust the position of the Subscribe in the comment checkbox section. For this, manual editing of the plugin code has to be done.
Note: You must perform a manual test on the changes you made to ensure that what you intended has actually happened.
The file which has to be edited is called aweber.php. At the top of the file or near to it, you can find those comments which instruct on how to make the mandatory variations and alterations.

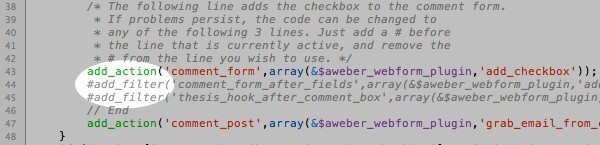
Follow the instructions as stated:

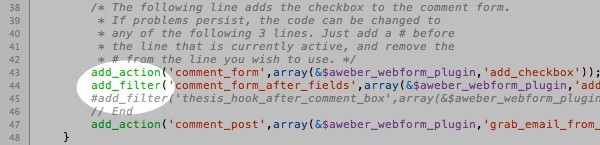
After that save your changes, and you must test the changes you made.
Summary:
AWeber is now integrated to your wordpress blog and now you can add email subscriptions. This will not only help you get more subscribers, but will also help you keep a record of all your subscribers for the future.
Author bio:
Brandon Graves is a highly recognized WordPress developer in the USA and manages the services for converting website to a WordPress platform. To know more about him please follow on Facebook.