This article assumes that you already purchased the SSL from an SSL provider. First download the all of the certificates that your certificate authority sent you to the server. Then follow the below instructions to install your SSL Certificate.
- Log in to Parallels Plesk Panel.
- From the left-hand menu, select Domains.
Plesk SSL Installation InstructionsTweet This - Click on the domain name that the certificate is issued for.
- Click on the Certificates menu item.
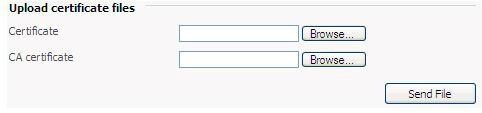
- Click Browse and locate your signed SSL certificate.
- Select it, then select Send File – this uploads and installs the certificate against the corresponding private key.
- On the displayed list, click on the name of the certificate.
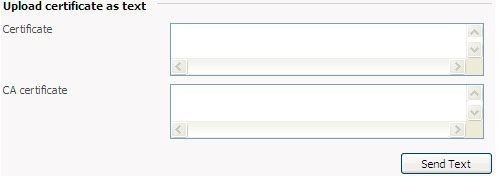
- Open the certificate bundle (gd_bundle.crt) in a text editor and copy and paste its contents into the box labeled CA Certificate.
- Click the Send Text button.
- Click Up Level; then choose Setup.
- At the top of the page, change the SSL Certificate drop-down menu to the certificate you have just installed.
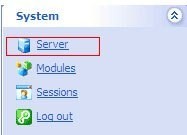
- Click the Server item from the left-hand menu.
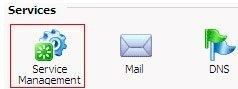
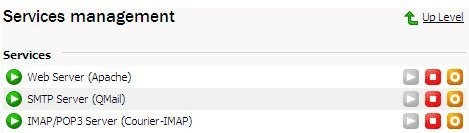
- Click Service Management.
- If your server is running Linux, stop and start the Apache process. If your server is running Windows, start and stop the DNS service.NOTE: Simply restarting Apache will not work. Stop the service and start the service again to complete the installation.


# Open a web browser and visit your site using https. If your certificate is correctly installed, you should not receive any browser warnings or errors.